About saved schedules
A “saved schedule” is a draft timetable in Workday where you can plan out your classes for the upcoming term. You can choose the courses you want, arrange them into a timetable that fits your schedule, and then register for them when it’s time to sign up for classes.
You can have multiple saved schedules for different course combinations or scheduling options.
Before you can view your saved schedules, you need to create a saved schedule.
How to view your saved schedules
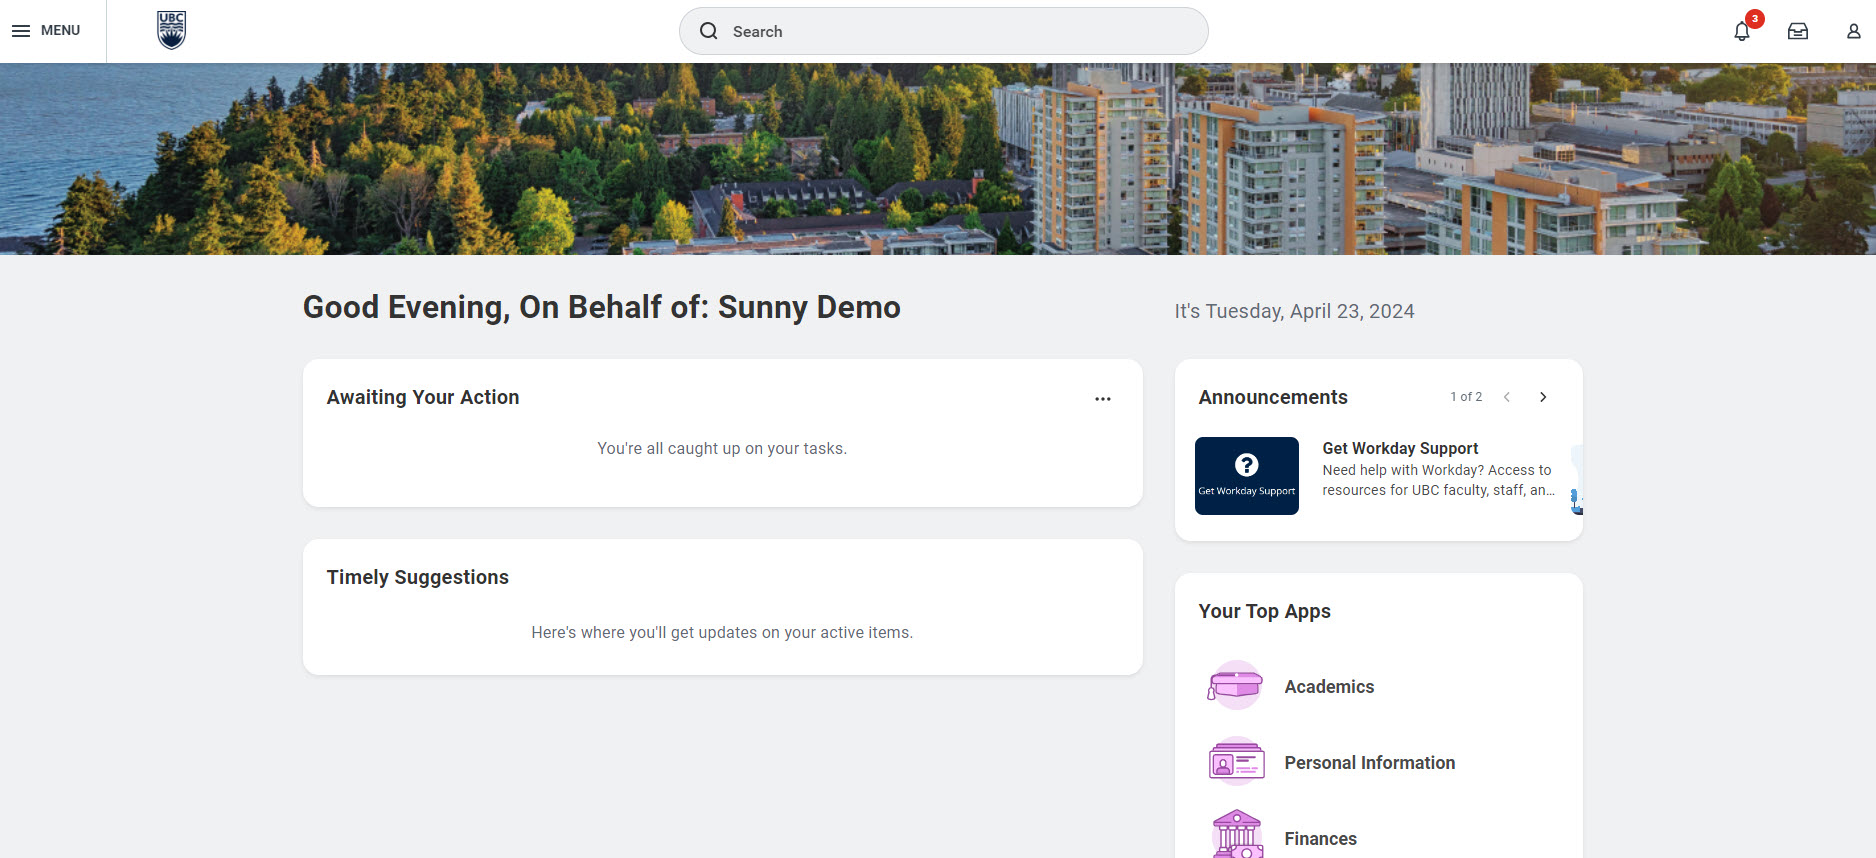
First, go to your Academics app
- Log into your Workday account at myworkday.ubc.ca.
- Click the “Academics” tab in the “Your Top Apps” menu on the right side of the page.
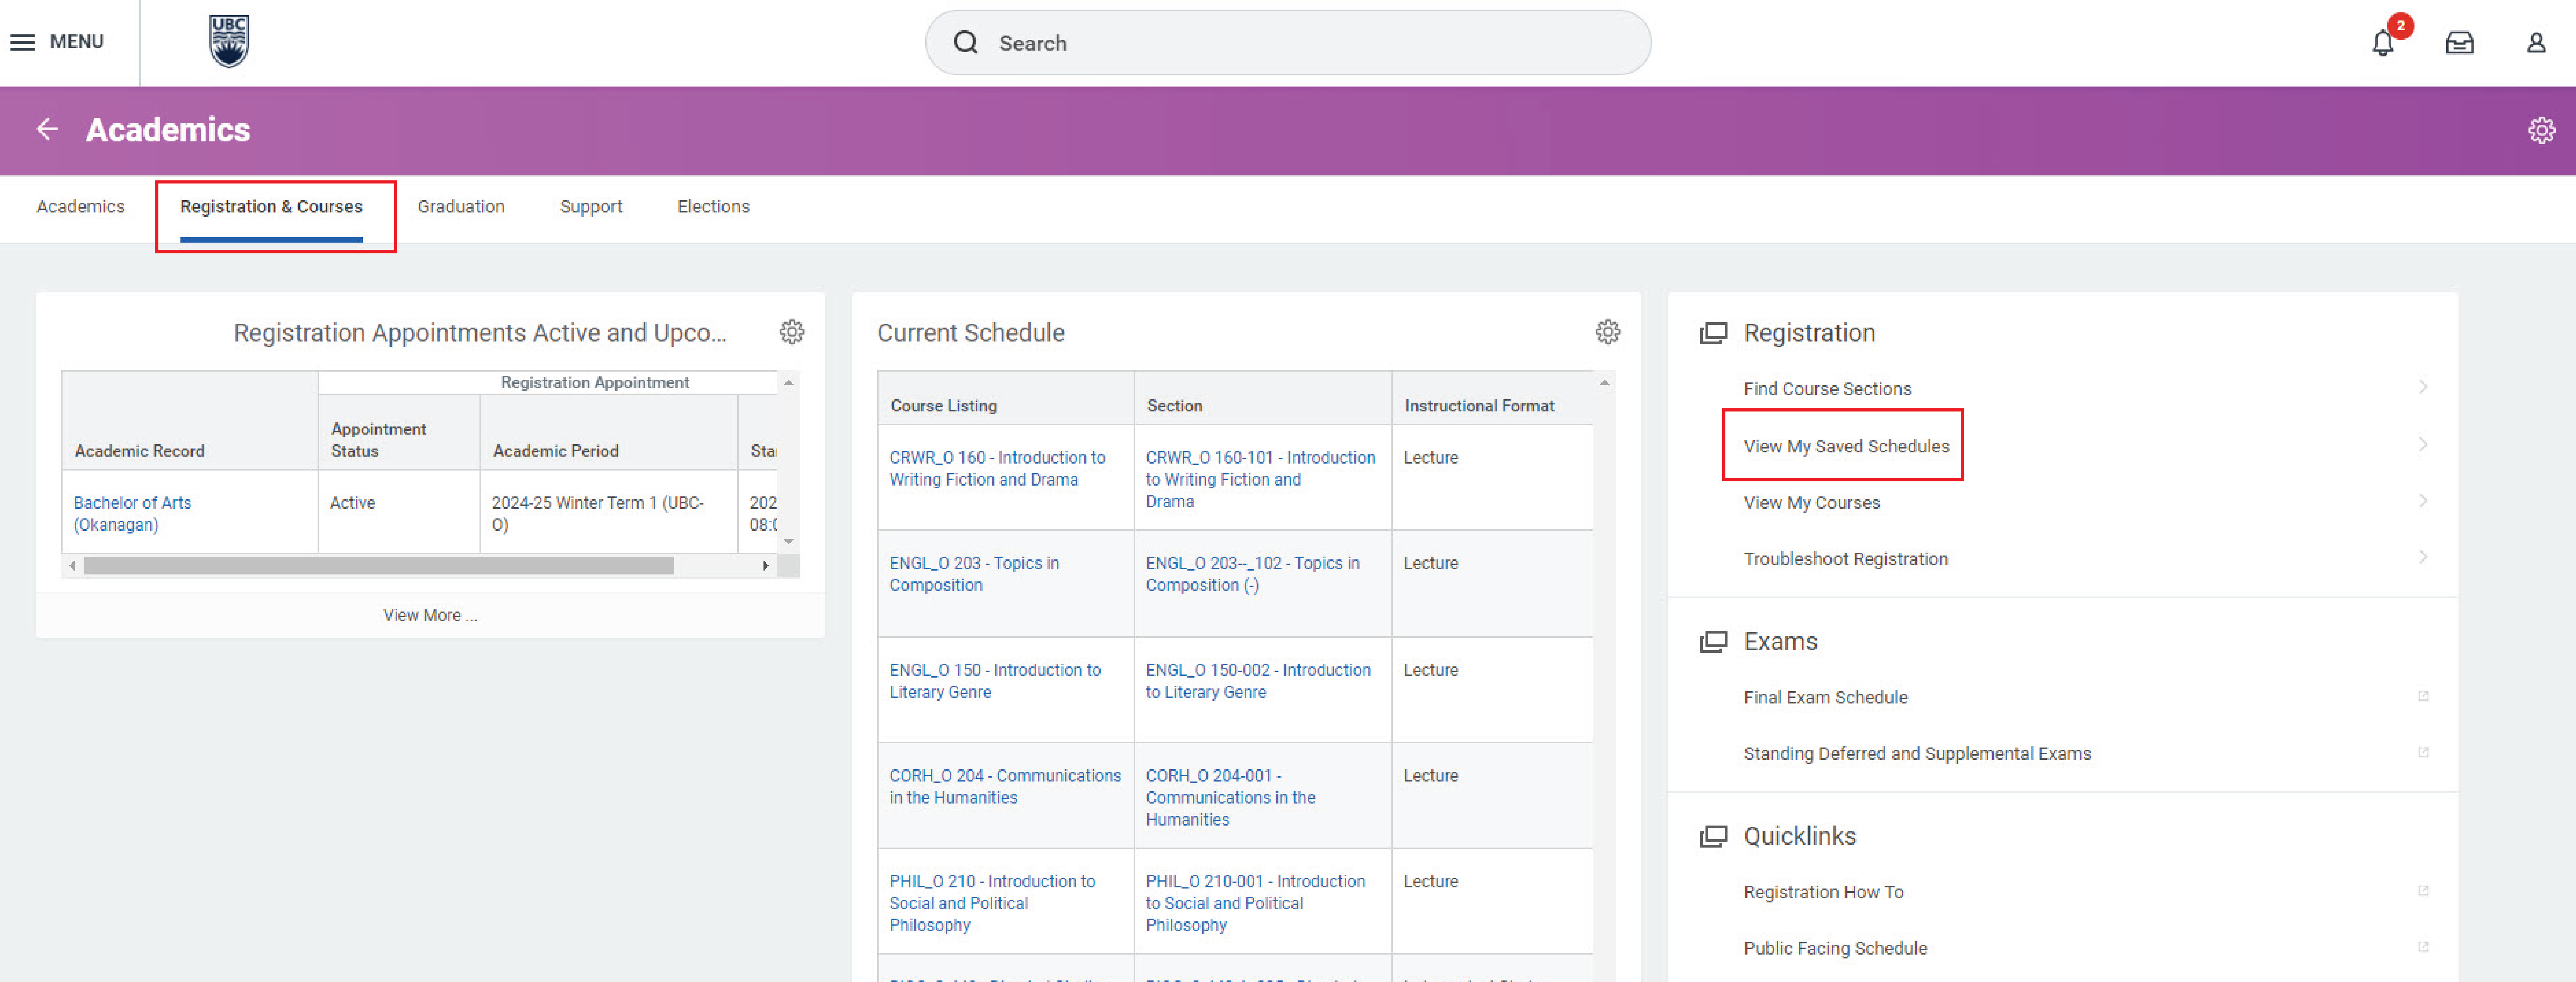
Next, go to your saved schedules
- Click the “Registration & Courses” tab in the top menu.
- In the “Registration” menu to the very right, click the “View My Saved Schedules” link.
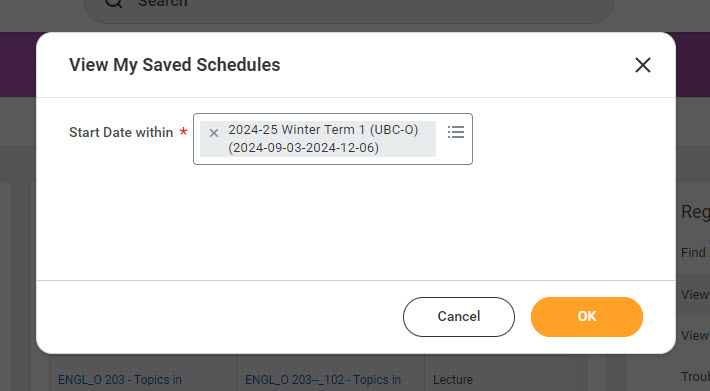
- A box will pop up with more information. Use the “Start Date within” field to select the academic period you want to view your saved schedules for.
- Click the orange “OK” button to display your saved schedules for this period.
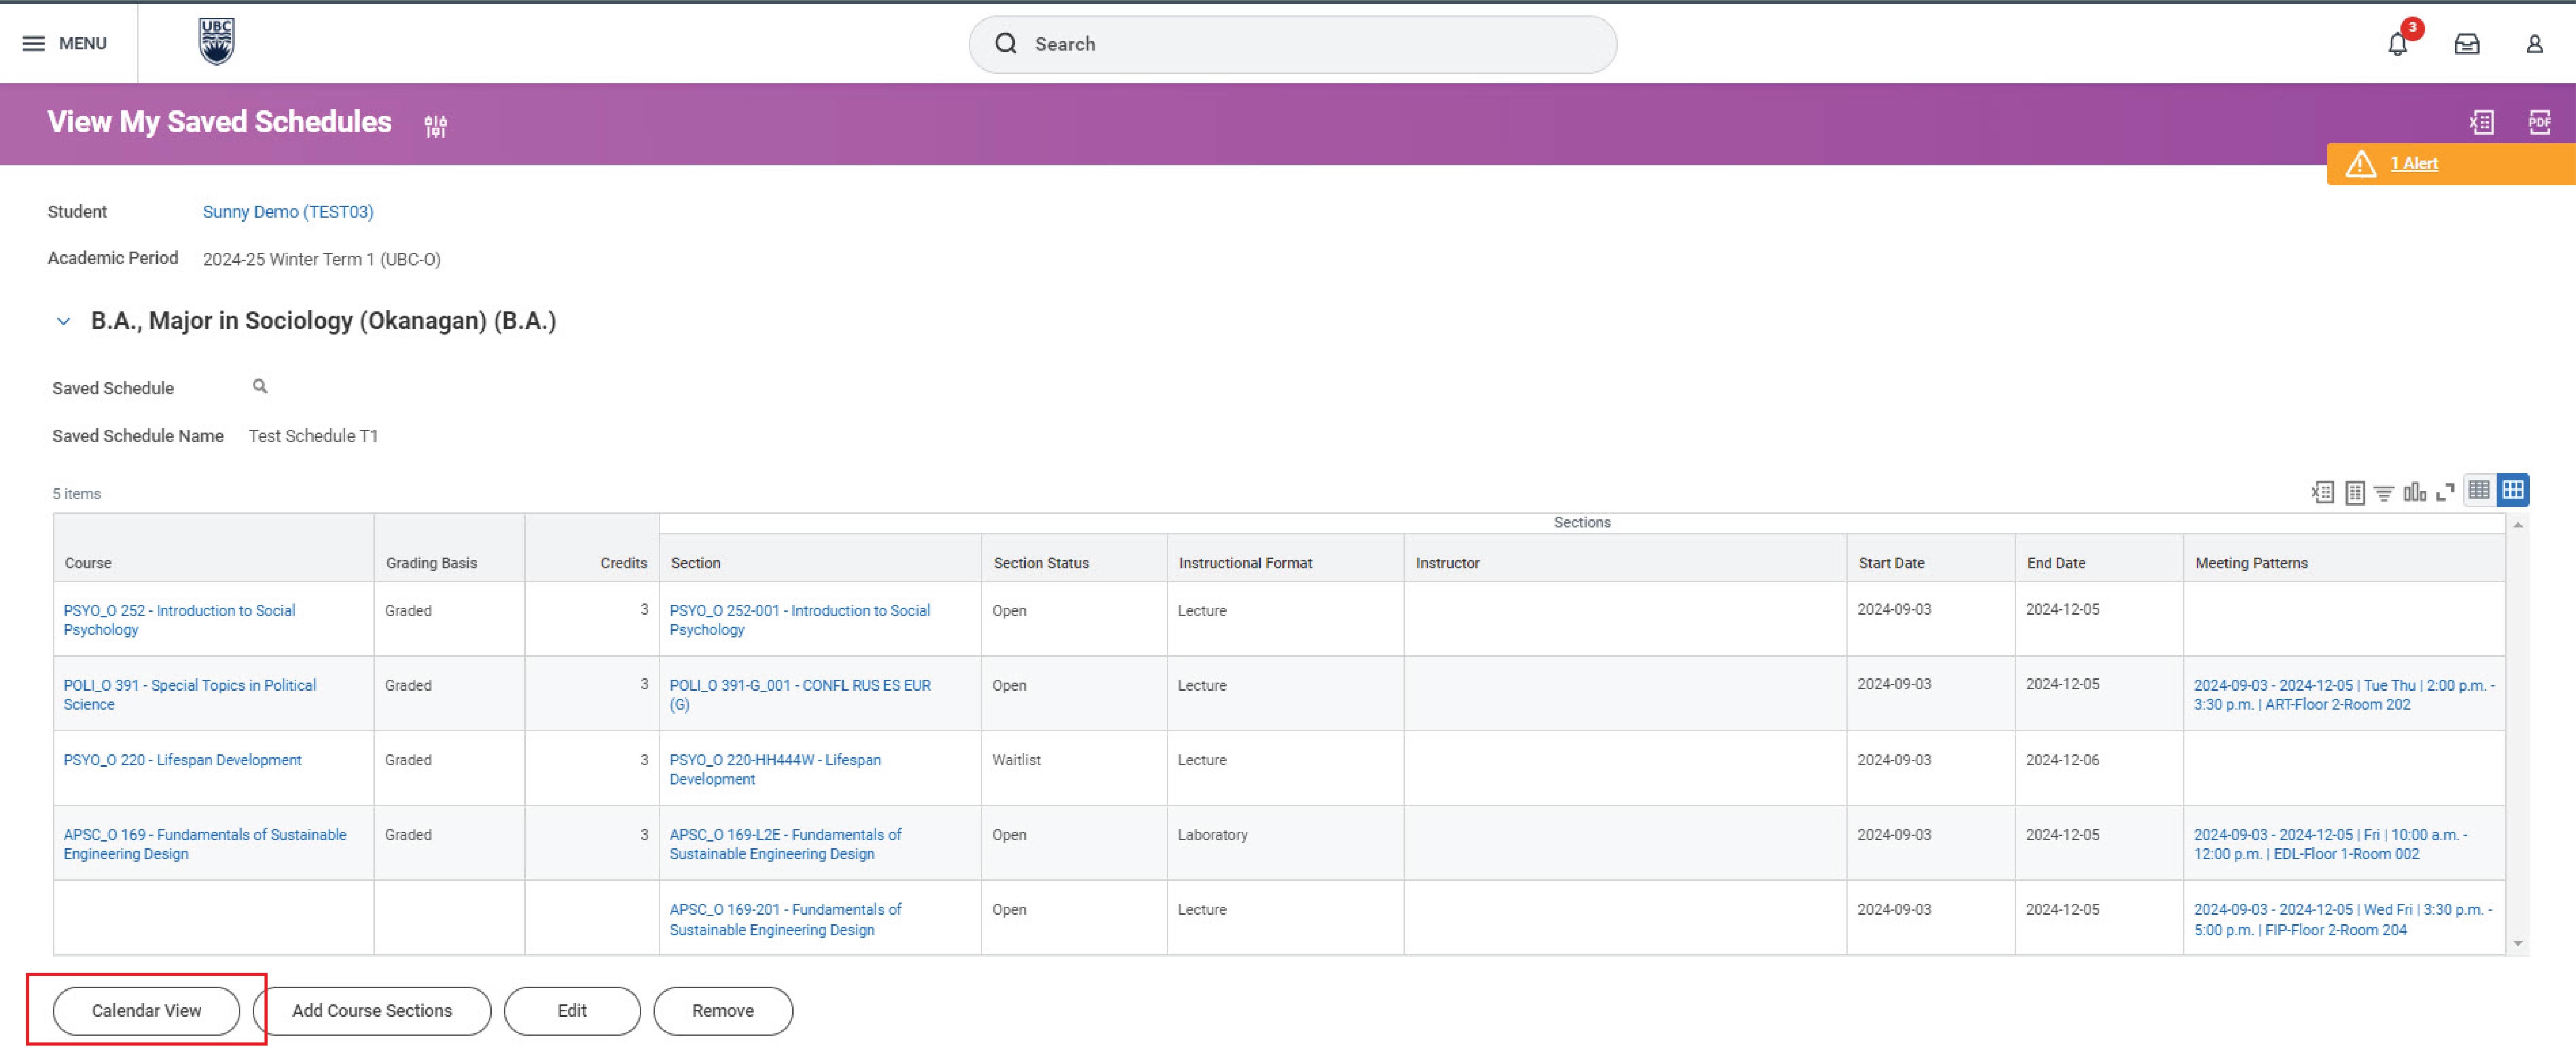
You can now see your saved schedules in table format. Click on the “Calendar View” button to display your courses in a weekly calendar format.
Next steps
Learn how to edit your saved schedule.
Commonly encountered problems
If you see an alert on your saved schedule, you may need to complete an action to avoid registration issues.
Follow the tutorials below if you encounter an alert:
Other Course registration tutorials
- Adding a course waitlist to your saved schedule
- Adding yourself to the waitlist for an individual course section
- Checking a course waitlist status and capacity
- Creating a saved schedule
- Dropping a course
- Editing your saved schedule
- Finding course conflicts in a saved schedule
- Registering for individual course sections
- Registering in a course from the waitlist
- Registering in courses from a saved schedule
- Resolving a hold on your academic record
- Reviewing saved schedule alerts
- Swapping a course
- Troubleshooting registration
- Troubleshooting your saved schedule
- Viewing the course schedule
- Viewing your registration appointment
- Viewing your saved schedule
- Viewing your waitlisted courses
- Withdrawing from a course