Ahh, the beginning of a new semester. So much hope, so much motivation. Let’s start this semester off on the right foot by getting organized ASAP. The best way to do that is by organizing your due dates as soon as you get your syllabi. Not sure where to start? We’re sharing three different ways to keep track of your due dates all semester long.
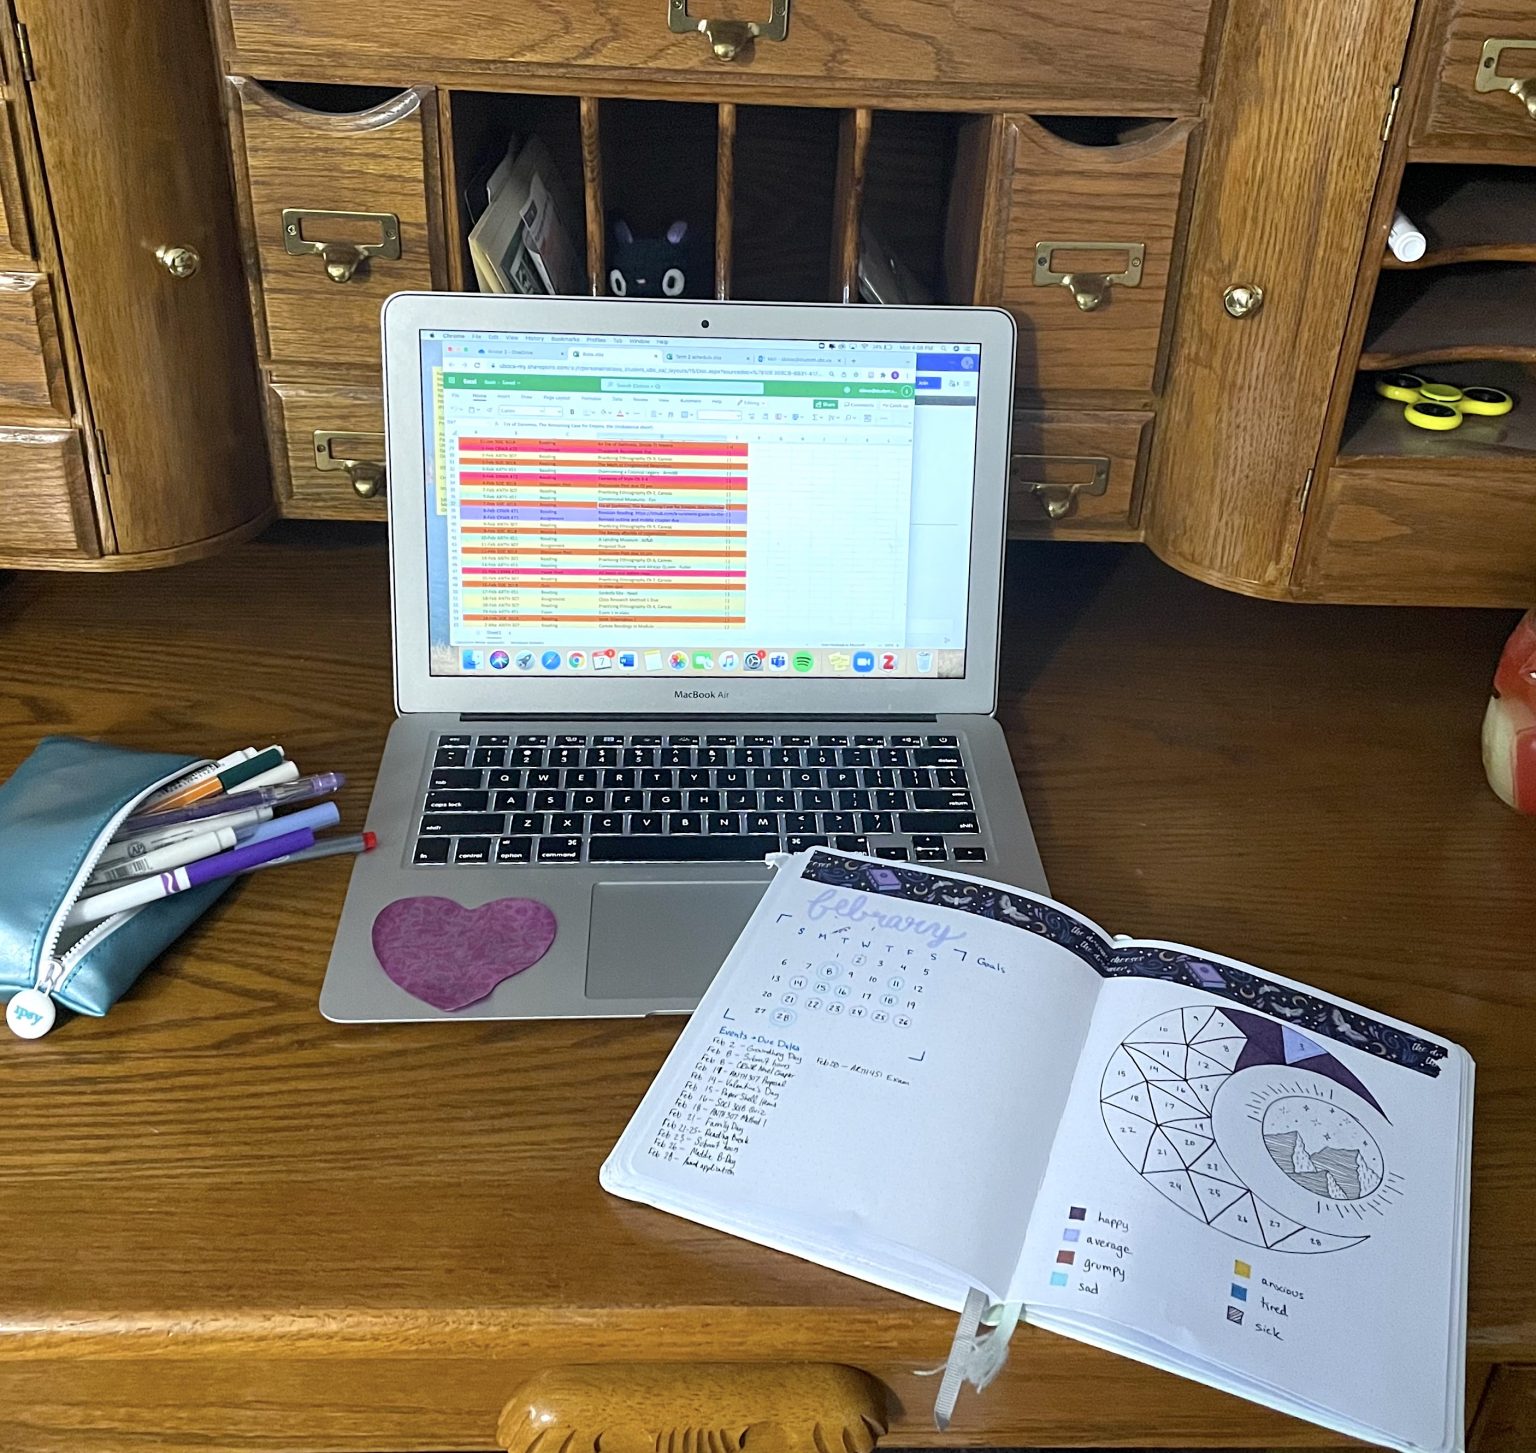
Excel doc, colour-coded and sorted
This was my saving grace last semester. It’s easy enough to put all my due dates in right after I get my syllabi, and then I don’t have to worry about updating it with new dates every month.
What you do:
- Getting started—Set up an excel document (if you don’t have Microsoft Office on your computer, you can get it for free as a student. Or a Google Sheet doc will work just as well).
- Column headers—Feel free to customize your columns, but mine are due date, class name, assignment type (e.g. reading, essay, lab etc.), assignment details (which reading is it, what’s the assignment like etc.), and whether or not I’ve completed that task.
- Input your dates—Add in all the assignments from your syllabi, and I mean all of them. I put in every reading, assignment, and participation task. Don’t worry about the order, we’ll sort it later.
- Colour code it—I fill each assignment row by class, but you could also code it by assignment type. I love making silly colour schemes, and I find this process to be super satisfying.
- Sort it—Make sure your cursor is in a cell in the due dates column, then go to the Data tab, and sort ascending. This will put all your dates into chronological order. Now just sit back, admire your work, and try not to think about how many items are on that list.
Google calendar input with dates (and notifications)
This option is great if you want to have all your extra-curricular activities, school tasks, and important dates all in one spot. Plus, you can set up notifications to remind you when your dates are coming up. Go forth and plan your days out by the minute, if that’s your style!
What you do:
- Getting started—Sign into your Google account and go to Calendar. In the left sidebar, go to other calendars, hit the plus sign and create new calendar. Once it’s created, you can change the colour of that calendar’s events by hitting the three dots beside its name in the left sidebar.
- Add events—Click into the day you want to add your event and customize the time, which calendar it’s for, a description, and whether or not that event repeats. You can do this for due dates, class times, work schedule, and other activities. Just don’t forget to hit save before you go out of the event.
- Set up notifications—Hit edit on the event you want a notification for and you can get Google to send you a notification or email beforehand. You can set your notification for classes to come up when it’s time to start getting ready, or your notification for due dates to come up a couple weeks before it’s due so you know when you should start working on it. You can also set multiple notifications to remind you about it. You’ll never be late again … well, probably not never, but significantly less often.If you’ve set up your due dates as all-day events and your class times as timed events, you can save time by making notifications for your whole calendar instead of each individual event. Just set your all-day events to alert you whenever you want to start an assignment, and set your class times to notify you when you want to start getting ready for them.
- Access your calendar from anywhere. It is that easy.
Good ol’ pen and paper
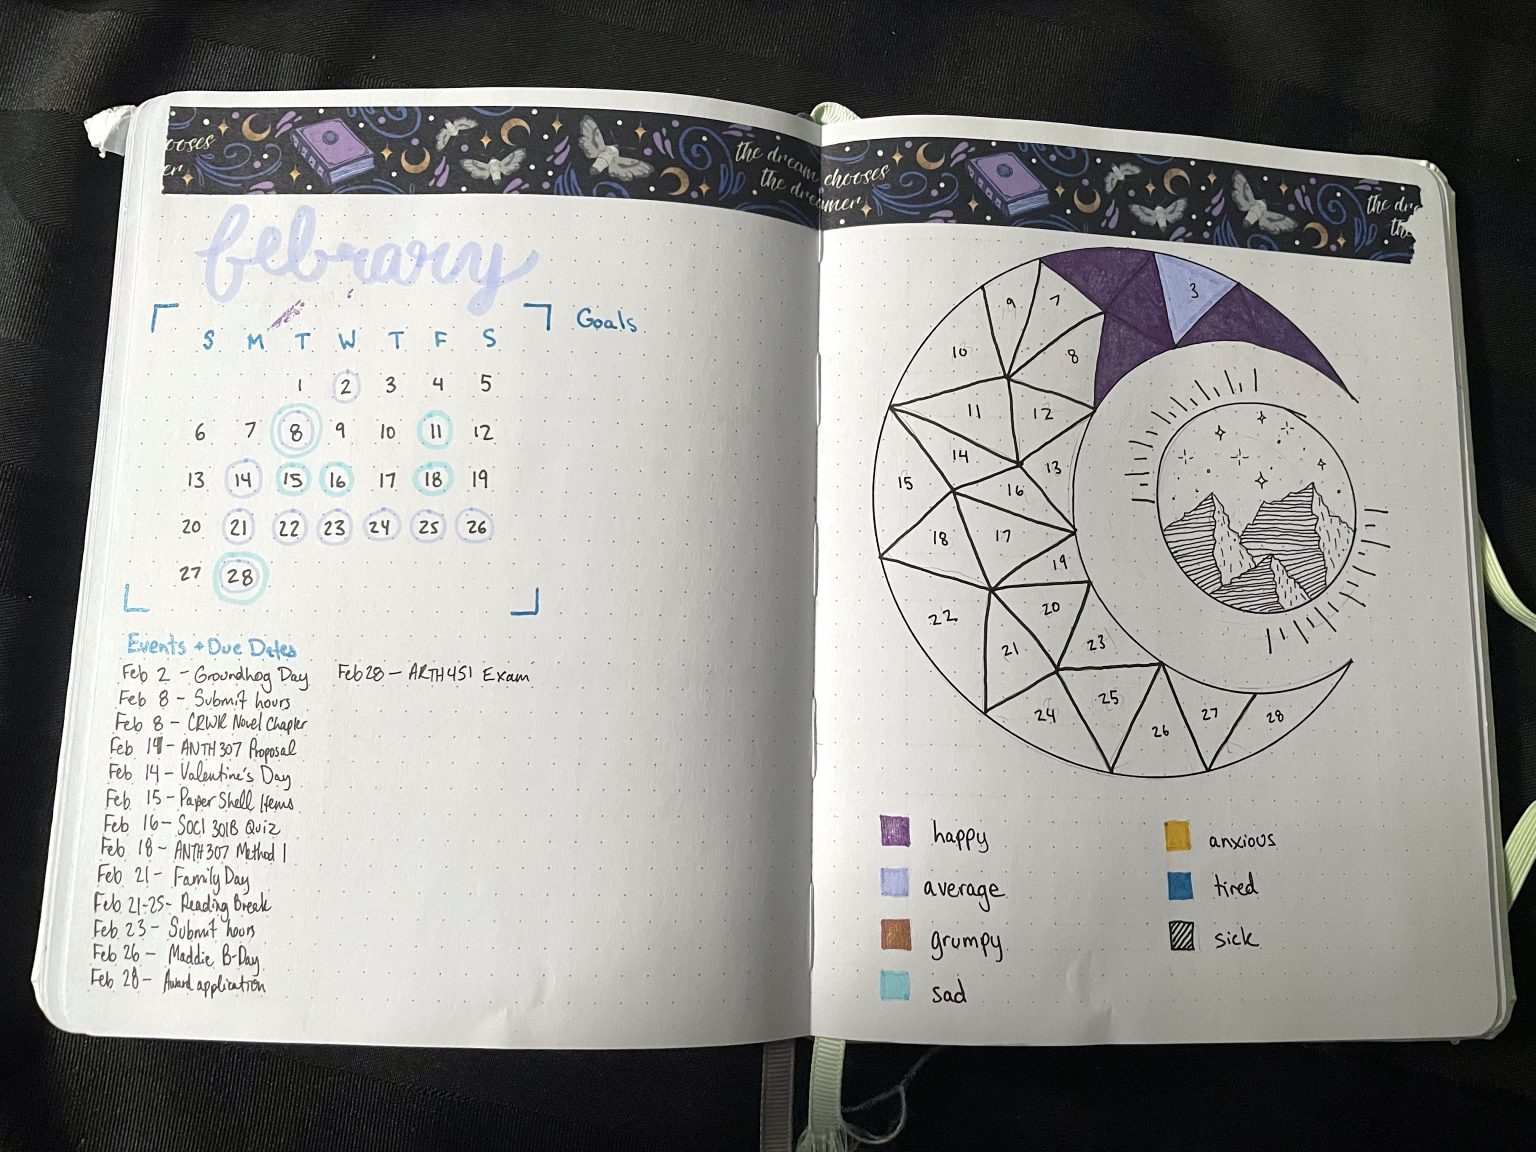
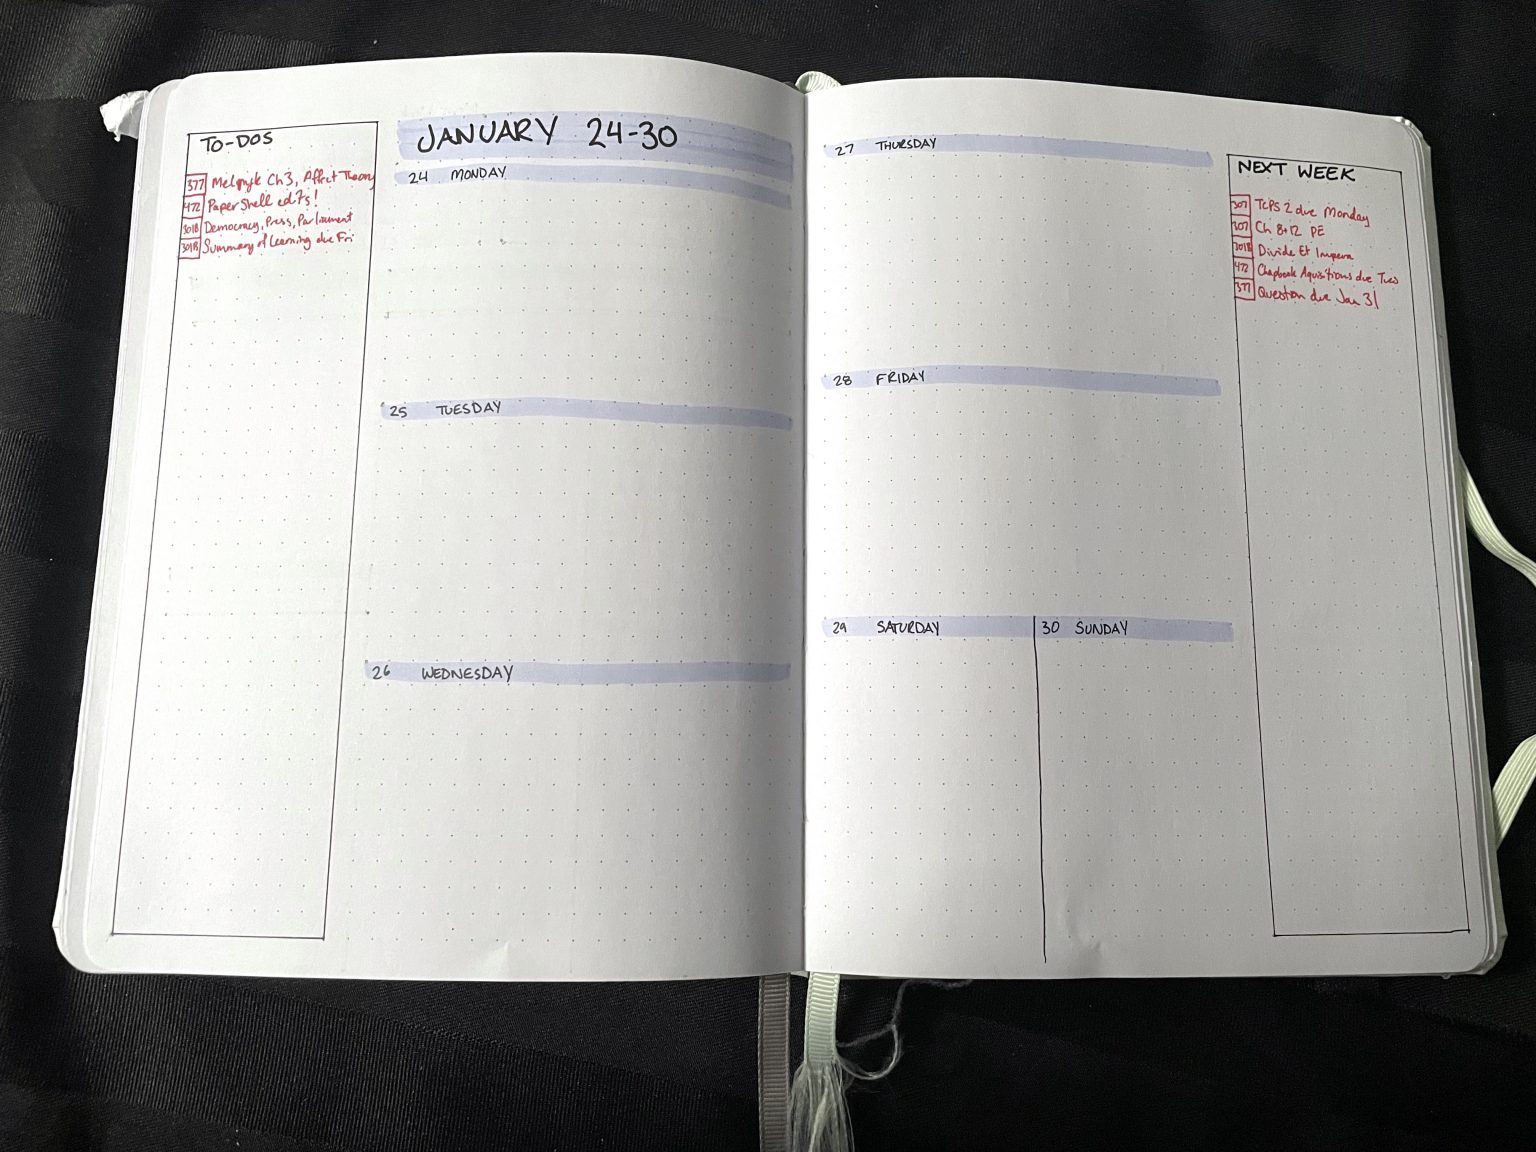
This is the option with the most freedom. Whether you’ve got a planner, a bullet journal, or just a pen and paper, you’ve got options for how you want this to look. You can look online for inspiration and templates for paper planners as well.
If you’ve got an agenda book or planner:
- Write down your due dates and class times in the corresponding dates in your planner. Maybe set some electronic reminders on your phone if needed.
If you don’t have a planner, but still want everything written down:
- Getting started—Grab some blank paper, a pen or pencil, and a ruler, and draw out a 7×4 or 7×5 grid, depending on how many weeks are in each month.
- Add your due dates—I’d recommend colour coding your dates by class, so you don’t have to write down which class the due dates are for.
- Make it fun—You can decorate your pages, or colour code them in aesthetically pleasing colours. If it’s nice to look at, you may feel more motivated to check things off your to-do list.


If you’re looking for more tips to stay on top of things this semester, talk to your Peer Mentor or the Learning Strategist.
Which setup works best for you? Let us know your favourite tip for keeping track of your schoolwork in the comments!
About the author
Sarah Kloos is a transfer student from Okanagan College. She’s a Creative Writing major, a collector of cool rocks, and a lover of novels. While she’s still not 100% sure what she’s going to be when she grows up, she’s okay with that. For now, she’s learning everything she can from her co-op work term, and loving every minute of it.
